

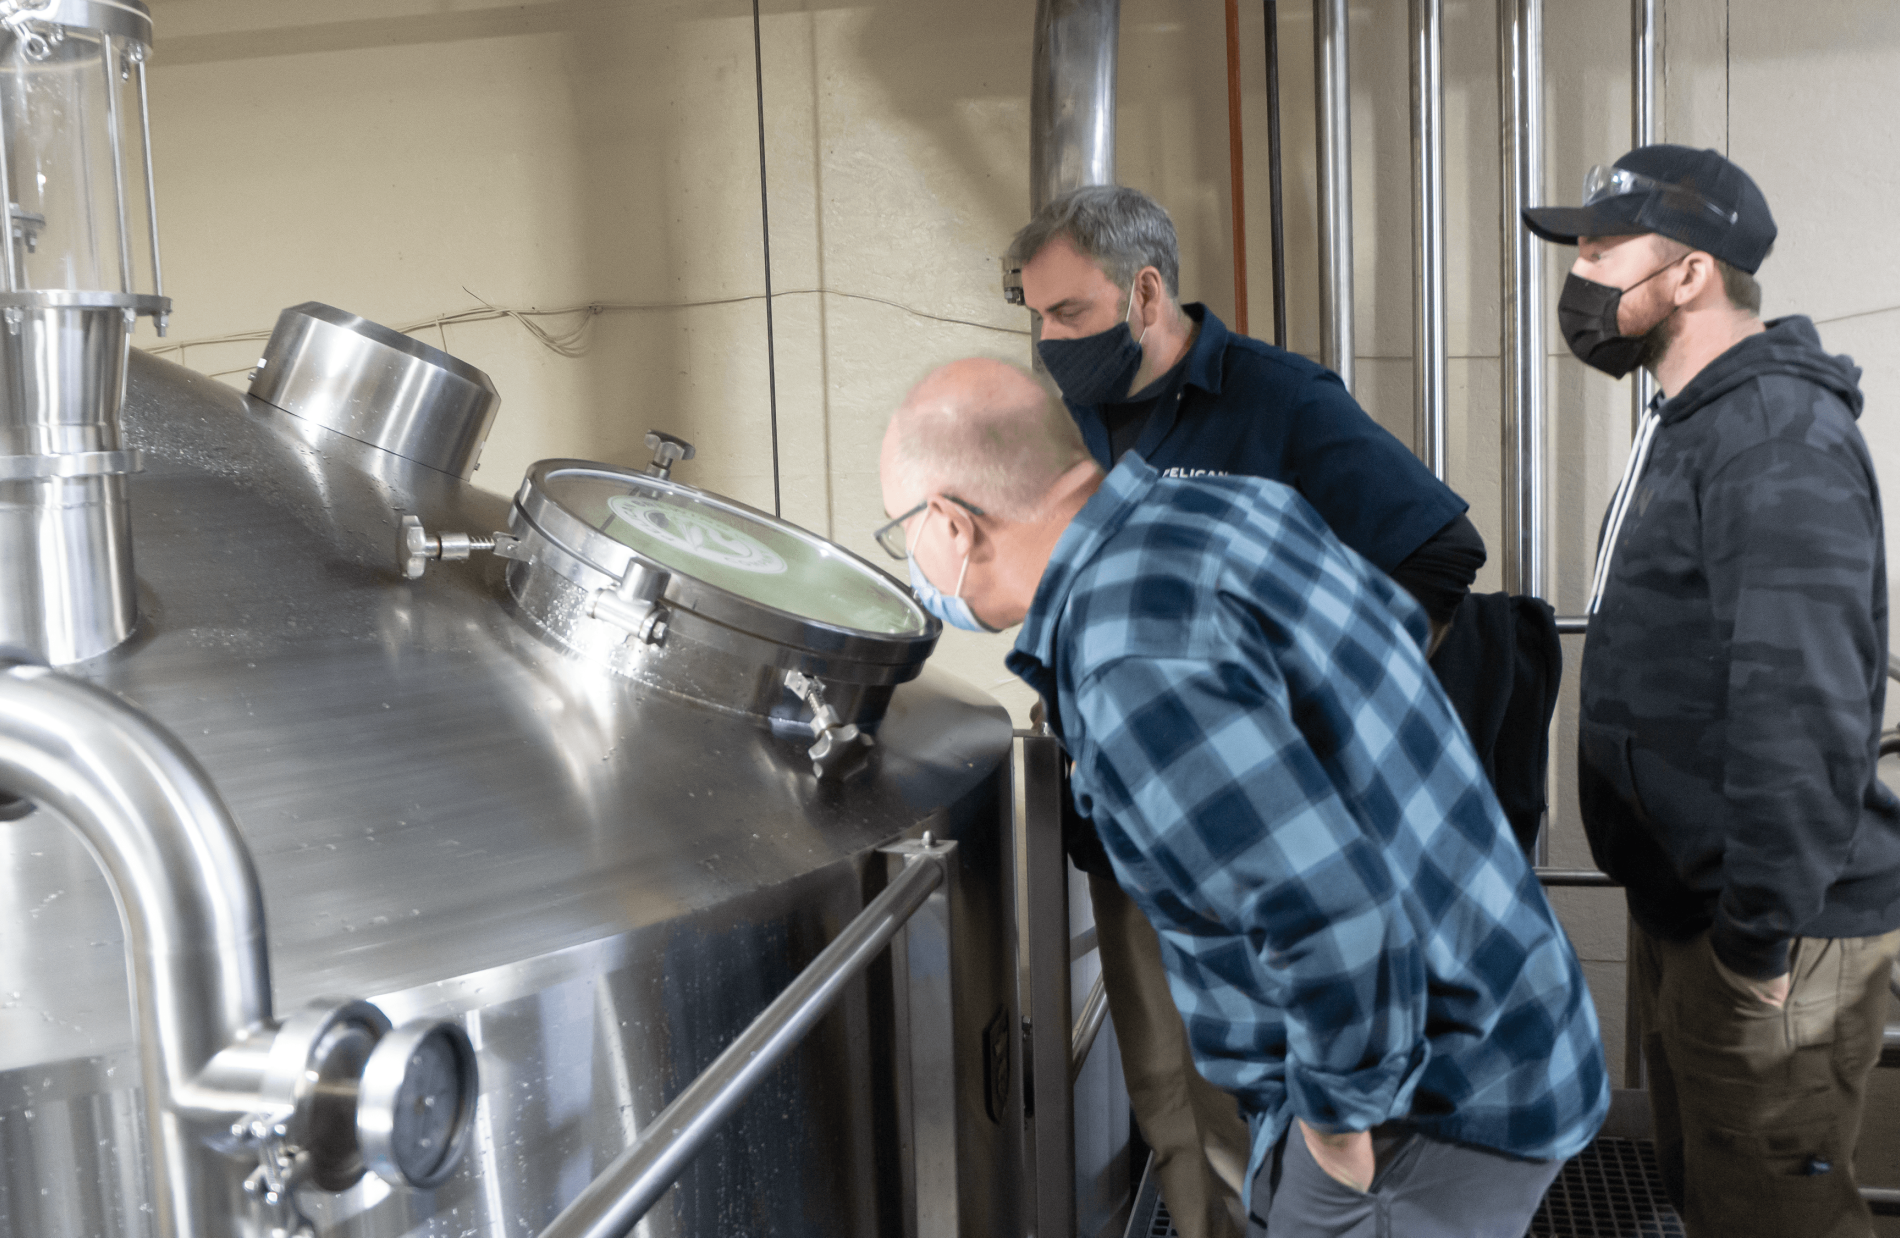
Passivation and First Brew
Passivating always seems to be a bit of voodoo art to most, and if you have done any research, you are likely to agree. I have read many different articles on how to “properly” passivate stainless steel using many different acidic compounds. Most methods call for a strong acidic solution (like nitric acid) circulated for some time at a particular temperature. I like to reference ASTM A380/A380M-17, which defines a standard practice for stainless steel cleaning, descaling, and passivation that the U.S. Department of Defense adopted. For what we need, the basics are rinse, clean (alkaline detergent), rinse, acid passivate, and rinse.
However, something that never seems to come up is the potential damage of brewery components with a strong hot acid (such as nitric). I have witnessed damage to manway gaskets, pump seals, other seals, corroded pump motor shafts, etc. So, if you can try to isolate items that may be damaged during this process, you will save yourself plenty of grief.
[As a side note, when running these procedures hot be aware of the potential of collapsing a vessel if it is not adequately vented (i.e., Hot Liquor or Cold Liquor tanks). A small amount of cold rinse water can lead to a catastrophic event.]
Once the system is passivated, I will do more water brews to ensure everything works and no damage was caused during cleaning and passivation procedures. Plus, this also gives the system a good rinse. This is when I check and verify flow rates of flow meters and temperature devices (either digital or analog). I usually use a known-good thermometer (certified) to verify temperatures. Any device with a function should be tested during the water brew (not while brewing the first actual brew).
Concurrent to running the cleaning and passivation of the brewhouse vessels, I will work on the malt handling system. One of the obvious things is making sure all motors run in the proper direction. Augers, conveyors, and the malt mill must be checked for appropriate rotation or direction. Once it is determined all the malt handling components work, I will run a couple of bags of sacrificial malt (i.e., malt that I am willing to dump) through the system. This helps clean out any debris, polish up auger flighting, and remove thin oil coatings. The mill can be set up for flow rate and gap to get a reasonable crush for the first brew. If screens are available, I will use these to dial in the mill roller gap width.
Once water brews are trouble-free, I will set up for the first brew. That means filling both hot and cold liquor tanks, setting their temperatures, and monitoring to ensure they are working as expected. The malt recipe will run through the malt handling system and into a grist hopper (if included), allowing the checking of motor performance (i.e., heat and amperage draw) and balancing flows between conveyors and the malt mill.
On mashing-in, water volume is usually measured with a flow meter, and liquor temperature may be manually monitored and adjusted or by automation, depending on the system. If the mash vessel has heating jackets and an agitator, both will be checked for proper operation. Mash agitator drive will be run up to 100%, and the mixing performance observed. Keep in mind the lower the liquor to grist ratio, the poorer the mixing performance (i.e., less than 2.8:1). The times to hit the various setpoints will be noted during heating steps and heat rates calculated.
Before transferring the mash, foundation water is added to the lauter tun. Temperature stability noted. Usually the amount will be just to the top of the false bottom screens. If there is a flow meter on the hot liquor line, this volume is noted and used for subsequent brews.
If the mashing vessel is dedicated for this purpose, then at the end of the mashing program, a transfer over to a lauter tun is next. Both speeds of transfer and how well the mash vessel drains (vortexing? complete emptying?) are noted. Always listening for any unusual noises and constantly checking for leaks. I like to see this transfer occur within 10 minutes for a “normal” brew.
During this time, a handheld ammeter is used to check the amp draw of the motors while under load. An example is during mash mixing (above) when the variable frequency drive is sped up to 100% the motor is likely to draw close to the motor tag FLA (full load amperage). A quick check of the motor temperature (by hand) will tell you if the motor is working hard. If a motor heats up significantly within a few minutes, you may have a problem; an ammeter check will verify this.
After the mash has settled vorlauf or recirculation of the wort back into lauter tun is started. After a predetermined amount of time (usually 10 to 20 min), the wort flow will be switched to the brew kettle. During vorlauf and run-off, I will carefully monitor the differential pressure either visually (if no pressure transmitter) or with the installed devices (pressure transmitters).
If the system has variable height rakes, then during lautering, I will run these to their limits while at raking speed. Even though these would have been tested many times prior I am cautious the first time with a grain bed.
Sparge temperature stability, flow rate, and coverage pattern are monitored, and any abnormalities are noted for further review.
At the end of lautering, I will take a sample of the spent grains and do a starch test (iodine) for residual unconverted starch. This will help me dial in the malt mill. If any starch is detected, that tells me I am losing extract and need to adjust my mill settings (gap width, feed rate, etc). As most brewers know there is a fine line between too tight and too loose malt mill roller gap. So some caution must be exercised when making these adjustments.
With steam-fired systems, I will turn on the heat in the brew kettle as soon as the bottom jacket is covered. As the kettle fills, I will note the temperature and volume and try to maintain a wort temperature of 90℃ to 95℃ (194℉ to 203℉). Once the kettle full mark is made, maximum heat is applied and the time to get to a full boil is noted.
Over boil sensor: During previous water brews, the overboil sensor (if installed) is tested by manually grounding the probe to the vessel dome. This is not the same as wort foam during boiling. The device’s sensitivity may have to be adjusted to react more accurately to the conductivity to wort foam during boiling. So, I carefully allow boiling wort to foam up to the overboil sensor to make sure it reacts correctly. If it does not respond quickly enough, I will increase the sensitivity until I get the response I want.
Brew kettle evaporation rate is calculated based on starting volume, end volume, and boil time. The most accurate way is by using a dipstick. An external sight glass can give erroneous readings, so I like to verify with a manual method.
During wort boiling, the lauter tun will be emptied. If there is a spent grains removal system in place, this will be tested. Assuming the lauter tun has adjustable rake height, I will usually start with the rakes and plows in the full-up position. With the spent grains manway open, I will set the plow-out speed at half and slowly lower the cutting rakes (plows still up) into the grain bed, all the while listening for any unusual sounds and watching the rotation. Once the rakes reach the bottom limits, I will bring them to the full-up position and then drop the plows and repeat the process, but I will lower according to the amount of spent grain being removed.
On completion of boiling, the wort is either whirlpooled in situ or transferred to a whirlpool vessel. My belief is this should be as brief as possible. If whirlpooling in situ, run the whirlpool pump only long enough to get the wort moving (~ 5 min). Once you reach the terminal rotational speed, shut the pump down and allow the wort to settle. Do not keep running the pump for another 15 min – all the pump does is homogenize the protein flocks you created while boiling. Settling occurs after the pump is turned off.
If there is a separate whirlpool, the pump should be sized for a 10 to 15 min transfer. My preference is a high volume, low speed (RPM) pump. Since most pumps these days are run with a variable frequency drive, the pump speed is usually not an issue. Pumping/transferring problems will arise if the pump is sized incorrectly or the piping is of a poor design.
Once the trub has settled, the wort can be cooled and transferred to an awaiting fermentation vessel. I will usually start the process slowly. Wort is allowed to gravity feed the pump and then the heat-exchanger (this is system-dependent). Coolant flow is turned on and verified, and then the wort pump. Wort temperature at the discharge side of the heat exchanger is closely monitored and adjusted as required. Temperature can be controlled by varying the coolant flow rate or varying the wort flow rate (pick one). Usually, the coolant flow rate becomes fixed, and the wort pump speed is adjusted to trim the temperature. Heat exchangers are engineered with somewhat fixed parameters. However, there is quite a range they can operate within.
Almost without exception, air or oxygen is injected, post-heat exchanger. The aeration device always has an inline sight glass which must be checked to ensure the device is operating correctly. Oxygen (or air) flow should be ramped up and down to ensure the flow gauge is reading (and the check valve is not installed backward).
Once knock-out is complete, any deficiencies noted should be addressed as soon as reasonably possible.
This article is not a comprehensive manual about brewery start-ups but an overview of important and often overlooked considerations. There are numerous configurations and permutations to take into account, but the main takeaway is to check everything and assume nothing.
